
Excel library
How to Create Custom Shortcut Keys in Excel? (Easy Guide)
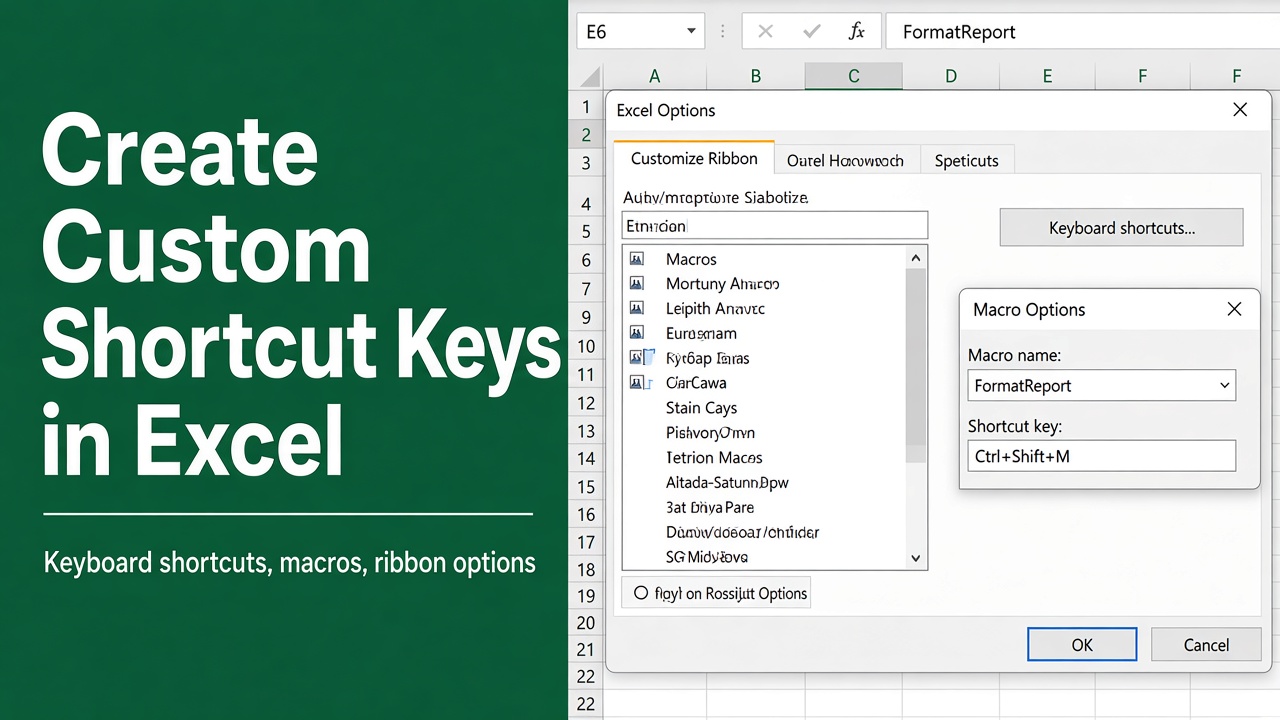
Are you tired of navigating through countless menus and ribbons in Microsoft Excel to access the functions you use most often? Do you wish there was a way to streamline your workflow and save time? Look no further! In this comprehensive guide, we’ll walk you through the step-by-step process of creating custom shortcut keys in Excel, empowering you to work more efficiently and effectively.
Excel doesn’t let you assign keyboard shortcuts to ribbon commands directly. Instead:
- For any command: right-click it on the ribbon, choose Add to Quick Access Toolbar, then press Alt followed by the number Excel shows on that button (Alt, 1 for the first).
- For a macro: press Alt + F8, select it, click Options, and type a letter to get Ctrl + Shift + letter.
Identifying Frequently Used Functions
To make the most of custom shortcut keys, it’s essential to identify the functions you use most often in Excel. Consider the following common tasks:
- Formatting cells: Bold, italic, underline, or change font color
- Inserting elements: Charts, tables, or pivot tables
- Data manipulation: Sort, filter, or create formulas
- Navigation: Moving between worksheets or specific cells
Make a list of the functions you find yourself using repeatedly, as these will be prime candidates for custom shortcut keys. Don’t forget to include any specialized functions specific to your work, such as custom macros or frequently used formulas. Before creating your own, check the built-in Excel shortcut keys from A to Z.
Accessing the Options Menu
To begin creating your custom shortcut keys, you’ll need to access the Options menu in Excel. Follow these steps:
- Click on the “File” tab in the top-left corner of the Excel window.
- Select “Options” from the bottom of the left-hand menu.
- In the Excel Options window, click on the “Customize Ribbon” tab on the left side.
Customizing the Ribbon
Before we create our custom shortcut keys, it’s helpful to understand how to customize the ribbon in Excel. This allows you to group your frequently used functions together for easy access. Here’s how:
- In the “Customize Ribbon” tab, locate the “Main Tabs” section on the right side.
- Click the “New Tab” button to create a new tab on the ribbon.
- Right-click on the newly created tab and select “Rename” to give it a meaningful name, such as “Custom Functions.”
- Select the new tab and click the “New Group” button to create a group within the tab.
- Right-click on the new group and select “Rename” to give it a descriptive name, like “Formatting” or “Data Analysis.”
- In the “Choose commands from” drop-down menu on the left side, select “All Commands.”
- Scroll through the list of commands and select the desired function, then click “Add” to move it to your custom group.
- Repeat steps 6-7 for each function you want to include in your custom group.
By organizing your frequently used functions in custom groups on the ribbon, you can quickly access them without having to search through the default Excel menus.
Creating Custom Shortcut Keys
Unlike Word, Excel has no Customize Keyboard dialog, so you can’t assign any Ctrl combination to a ribbon command. There are two reliable ways to get your own shortcuts instead.
Option 1: Quick Access Toolbar (Alt + Number)
Every button on the Quick Access Toolbar gets a shortcut automatically:
- Right-click any ribbon command you use often (for example Merge & Center or Remove Duplicates) and choose Add to Quick Access Toolbar.
- Repeat for other commands. To reorder them, go to File > Options > Quick Access Toolbar and use the up and down arrows.
- Press and release Alt. Excel shows a number over each toolbar button: the first is Alt, 1, the second Alt, 2, and so on.
If the toolbar is hidden, right-click the ribbon and choose Show Quick Access Toolbar.
Option 2: A Ctrl Shortcut for a Macro
Any macro can have a Ctrl + letter or Ctrl + Shift + letter shortcut:
- Record the steps with View > Macros > Record Macro (or write the macro in the VBA editor).
- Press Alt + F8, select the macro, and click Options.
- In the Shortcut key box, type a letter. Hold Shift while typing it to get Ctrl + Shift + letter, which avoids replacing Excel’s own Ctrl shortcuts such as Ctrl + C.
- Click OK. To have the shortcut in every workbook, store the macro in your Personal Macro Workbook when recording.
When choosing keys, prefer Ctrl + Shift + letter. Many plain Ctrl + letter combinations already do something (Ctrl + B is bold, Ctrl + T creates a table), and a macro shortcut silently replaces them while that workbook is open.
Using VBA to Create Custom Shortcut Keys
You can also use VBA (Visual Basic for Applications) to create custom shortcut keys in Excel. VBA provides the OnKey method, which allows you to assign a macro or a specific set of instructions to a particular key combination.
Here’s an example of how you can use VBA to create a custom shortcut key:
- Open your Excel workbook and press
Alt+F11to open the Visual Basic Editor (VBE). - In the VBE, go to
Insert>Moduleto create a new module. - In the module, enter the following code:
Sub AssignShortcut()
    Application.OnKey "^+b", "BoldText"
End Sub

Sub BoldText()
    Selection.Font.Bold = True
End Sub
In this example, the AssignShortcut procedure uses the OnKey method to assign the key combination Ctrl+Shift+B (^+B in VBA syntax) to the BoldText macro. The BoldText macro simply sets the Bold property of the selected text to True, making it bold.
- To run the
AssignShortcutprocedure and activate the custom shortcut key, go back to your Excel workbook and pressAlt+F8to open the Macro dialog box. - Select the
AssignShortcutmacro and clickRun.
Now, whenever you press Ctrl+Shift+B in your Excel workbook, it will execute the BoldText macro and make the selected text bold.
You can customize the key combination and the macro code to suit your specific needs. Here are a few more examples:
' Assign Ctrl+Shift+I to italicize selected text
Application.OnKey "^+i", "ItalicText"

Sub ItalicText()
    Selection.Font.Italic = True
End Sub

' Assign Ctrl+Shift+U to underline selected text
Application.OnKey "^+u", "UnderlineText"

Sub UnderlineText()
    Selection.Font.Underline = xlUnderlineStyleSingle
End Sub
Remember to place these code snippets in a module within the Visual Basic Editor and run the respective procedures to assign the shortcuts.
To remove a custom shortcut key assigned using VBA, you can use the following code:
Application.OnKey "^+b" ' Removes the Ctrl+Shift+B shortcutThis line of code removes the previously assigned shortcut key without specifying a macro, effectively disabling it.
Note: OnKey assignments last only until Excel is closed. To set them up automatically, call AssignShortcut from a Workbook_Open procedure in the ThisWorkbook module, or store the macros in your Personal Macro Workbook.
By using VBA to create custom shortcut keys, you have even more flexibility and control over automating tasks and customizing your Excel experience.
Benefits of Custom Shortcut Keys
Before we dive into the nitty-gritty of creating custom shortcut keys, let’s explore why they are so beneficial:
- Increased Productivity: By assigning shortcuts to frequently used functions, you can save valuable time and boost your overall productivity. Instead of clicking through multiple menus and ribbons, you can execute your desired action with a simple keystroke.
- Personalized Workflow: Custom shortcut keys allow you to tailor Excel to your specific needs, making it easier to navigate and work with your preferred functions. You can create shortcuts for the tasks you perform most often, ensuring a seamless and intuitive workflow.
- Reduced Mouse Dependency: With custom shortcut keys, you can minimize your reliance on the mouse, enabling you to work more efficiently using your keyboard. This is particularly useful for those who prefer keyboard navigation or want to reduce the risk of repetitive strain injuries associated with excessive mouse use.
- Consistency and Standardization: If you work in a team or collaborate with others on Excel projects, creating a standardized set of custom shortcut keys can ensure consistency and efficiency across the board. By sharing your customizations, everyone can benefit from the same time-saving shortcuts.
Sharing Your Custom Shortcut Keys
If you work collaboratively with others in Excel, you may want to share your custom shortcut keys to ensure consistency and efficiency across your team:
- In File > Options, open the “Customize Ribbon” or “Quick Access Toolbar” tab and click the “Import/Export” button at the bottom. This shares your ribbon and toolbar (with its Alt + number shortcuts); macro shortcuts travel with the workbook that holds the macros.
- Select “Export all customizations” and choose a location to save the exported file.
- Share the exported file with your team members via email, a shared network drive, or a collaboration platform like Microsoft Teams or Slack.
- Instruct your team members to open the “Excel Options” window and navigate to the “Customize Ribbon” tab.
- Have them click the “Import/Export” button and select “Import customization file.”
- Locate the shared exported file and click “Open” to import your custom shortcut keys.
By sharing your customizations, you can ensure that everyone on your team benefits from the streamlined workflow provided by custom shortcut keys. This promotes consistency, reduces training time, and enhances overall productivity.
Final Thoughts
Creating custom shortcut keys in Excel is a game-changer for anyone looking to optimize their workflow and boost productivity. By identifying your frequently used functions, customizing the ribbon, and assigning intuitive shortcut keys, you can navigate Excel with ease and efficiency. Remember to test your shortcut keys thoroughly, share them with your team, and regularly review and update them to ensure they continue to meet your evolving needs.