
Excel library
How to Autofill Formula in Excel Without Dragging?
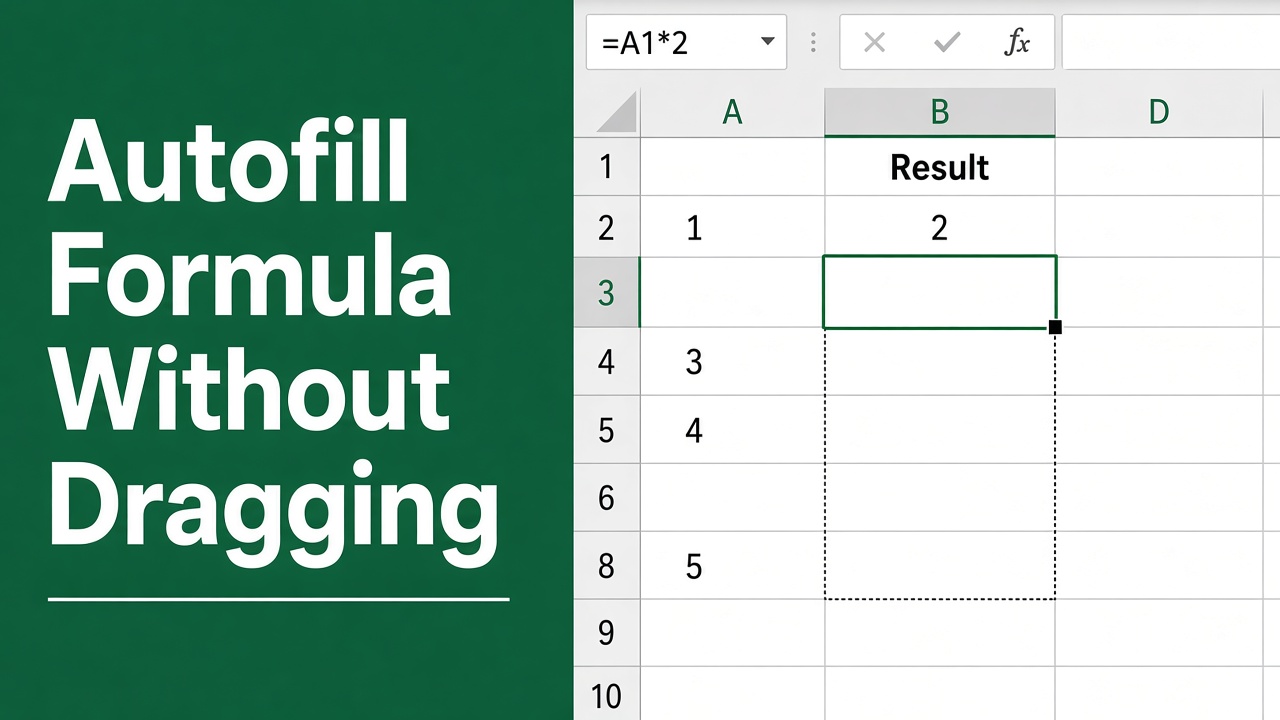
Do you often find yourself dragging formulas down columns in Microsoft Excel to apply the same calculation to multiple cells? While this method works, it can be time-consuming, especially for large datasets. Luckily, there are several ways to autofill formulas in Excel without dragging. In this article, we’ll explore these techniques to help you work more efficiently in Excel.
Select the whole range first, type the formula for the first cell, and press Ctrl + Enter. Excel fills every selected cell at once and adjusts the references.
For a long column, click the Name Box (left of the formula bar), type e.g. C2:C5000, press Enter to select it, then type the formula and press Ctrl + Enter. If the next column already has data, just double-click the fill handle of the first formula.
Understanding Autofill in Excel
Autofill is an Excel feature that allows you to quickly fill cells with data, such as numbers, text, or formulas, based on a pattern in adjacent cells. When you drag the fill handle (the small square in the bottom-right corner of a selected cell or range), Excel automatically extends the pattern.
Autofill is particularly useful for applying formulas to multiple cells. However, dragging the fill handle can be cumbersome when dealing with large datasets or complex spreadsheets. Let’s look at some alternatives.
Using the Double-Click Trick
One of the easiest ways to autofill a formula without dragging is to use the double-click trick. Here’s how it works:
- Enter your formula in the first cell of the column where you want to apply it.
- Move your cursor to the bottom-right corner of the cell until the fill handle appears.
- Double-click the fill handle.
Excel will automatically copy the formula down the column until it reaches the last cell with data in the adjacent column. This method is quick and efficient, especially for small to medium-sized datasets.
Applying Formulas with Keyboard Shortcuts
Another way to autofill formulas without dragging is by using keyboard shortcuts. This method is particularly useful when you need to apply a formula to a specific range of cells. Follow these steps:
- Enter your formula in the first cell of the range.
- Select the cell with the formula and the cells where you want to apply it.
- Press Ctrl + D to fill the formula down the column, or press Ctrl + R to fill the formula across the row.
For separate, non-adjacent ranges, use Ctrl + Enter instead: select all the ranges with Ctrl held down, type the formula for the active cell, and press Ctrl + Enter to fill every selected cell.
Utilizing the Fill Command
Excel’s Fill command provides another way to autofill formulas without dragging. This method offers more control over how the formula is copied. Here’s how to use it:
- Enter your formula in the first cell of the range.
- Select the cell with the formula and the cells where you want to apply it.
- Go to the Home tab and click the Fill button in the Editing group.
- Choose one of the following options:
- Down: Copies the formula down the column.
- Right: Copies the formula across the row.
- Up: Copies the formula up the column.
- Left: Copies the formula to the left across the row.
The Fill command is particularly useful when you need to apply a formula in a specific direction or when the double-click trick doesn’t work due to inconsistent data in the adjacent column.
Autofilling Formulas with the Fill Handle
While dragging the fill handle is the most common way to autofill formulas, there’s a way to make it more efficient. Instead of dragging the fill handle, you can double-click it to automatically copy the formula down the column until Excel reaches the last cell with data in the adjacent column.
Here’s how it works:
- Enter your formula in the first cell of the column where you want to apply it.
- Move your cursor to the bottom-right corner of the cell until the fill handle appears.
- Double-click the fill handle.
This method combines the speed of the double-click trick with the familiarity of using the fill handle.
Using Ctrl + Enter and the Name Box
This is the fastest way to fill thousands of rows without dragging:
You can also apply a formula to an entire column on Mac without dragging.
- Click the Name Box to the left of the formula bar.
- Type the range to fill, for example
C2:C5000, and press Enter. The whole range is selected, with C2 active. - Type the formula for the first cell, such as
=A2*B2. - Press Ctrl + Enter. Every cell in C2:C5000 gets the formula, with the row numbers adjusted.
Using Dynamic Array Formulas (Microsoft 365)
In Microsoft 365 and Excel 2021 or later, one formula can calculate a whole column and spill the results down, so there is nothing to copy:
=A2:A5000*B2:B5000Enter it once in C2. The results fill C2:C5000 automatically and update when the data changes. Keep the cells below empty, or you’ll get a #SPILL! error.
Applying Formulas with the Table Feature
Excel’s Table feature is another way to autofill formulas without dragging. When you convert a range of cells into a table, any formula entered in one cell of a column is automatically applied to the entire column. Here’s how to use it:
- Select the range of cells you want to convert into a table, including the headers.
- Go to the Insert tab and click Table.
- Check the “My table has headers” box if your range includes headers, then click OK.
- Enter your formula in one cell of the column where you want to apply it.
Excel will automatically copy the formula to the entire column, and any new rows added to the table will also receive the formula.
| Pros of Using Tables | Cons of Using Tables |
|---|---|
| Formulas are automatically applied to new rows | Tables have a specific structure that may not fit all data |
| Formatting is consistent throughout the table | Formulas in tables use structured references, which can be confusing for some users |
| Tables make it easy to sort, filter, and analyze data | Converting a table back to a normal range can be tricky |
Combining Multiple Techniques
While each of the methods described above can be used independently, you can also combine them for even greater efficiency. For example, you can use the double-click trick to autofill a formula down a column and then use the Fill command to copy the formula across a row.
Experiment with different combinations to find what works best for your specific needs and workflow.
Best Practices for Autofilling Formulas
To ensure accuracy and consistency when autofilling formulas in Excel, follow these best practices:
- Double-check your formula before autofilling: Make sure your initial formula is correct to avoid propagating errors.
- Use absolute and relative references appropriately: Understand how Excel adjusts cell references when copying formulas to avoid unexpected results.
- Watch for formula consistency: Ensure that the autofilled formulas are consistent with your intended calculation.
- Use named ranges: Named ranges can make formulas easier to read and maintain, especially when autofilling.
- Regularly audit your formulas: Periodically check your spreadsheets for errors and inconsistencies, especially after autofilling formulas.
By following these best practices, you can ensure that your autofilled formulas are accurate and reliable.
Final Thoughts
Autofilling formulas in Excel without dragging can save you time and effort, especially when working with large datasets or complex spreadsheets. By using techniques like the double-click trick, keyboard shortcuts, the Fill command, array formulas, and tables, you can streamline your workflow and focus on analyzing your data.
Remember to choose the method that best fits your needs and to always double-check your formulas before autofilling. With practice, you’ll become a pro at autofilling formulas in Excel, and your spreadsheets will be more efficient and accurate as a result.
FAQs
What is autofill in Excel?
Autofill is an Excel feature that allows you to quickly fill cells with data, such as numbers, text, or formulas, based on a pattern in adjacent cells. When you drag the fill handle (the small square in the bottom-right corner of a selected cell or range), Excel automatically extends the pattern.
How do I use the double-click trick to autofill formulas?
To use the double-click trick, enter your formula in the first cell of the column where you want to apply it. Move your cursor to the bottom-right corner of the cell until the fill handle appears, then double-click the fill handle. Excel will automatically copy the formula down the column until it reaches the last cell with data in the adjacent column.
What keyboard shortcuts can I use to autofill formulas?
To autofill formulas using keyboard shortcuts, enter your formula in the first cell of the range and select the cell with the formula and the cells where you want to apply it. Press Ctrl + D to fill the formula down the column, or press Ctrl + R to fill the formula across the row.
How can I use the Fill command to autofill formulas?
To use the Fill command, enter your formula in the first cell of the range and select the cell with the formula and the cells where you want to apply it. Go to the Home tab and click the Fill button in the Editing group. Choose one of the options (Down, Right, Up, or Left) to copy the formula in the desired direction.
How can I ensure accuracy when autofilling formulas?
To ensure accuracy when autofilling formulas, double-check your initial formula before autofilling, use absolute and relative references appropriately, watch for formula consistency, use named ranges, and regularly audit your formulas. By following these best practices, you can ensure that your autofilled formulas are accurate and reliable.