
Excel library
How to Insert Checkbox in Excel? (The Easy Way)
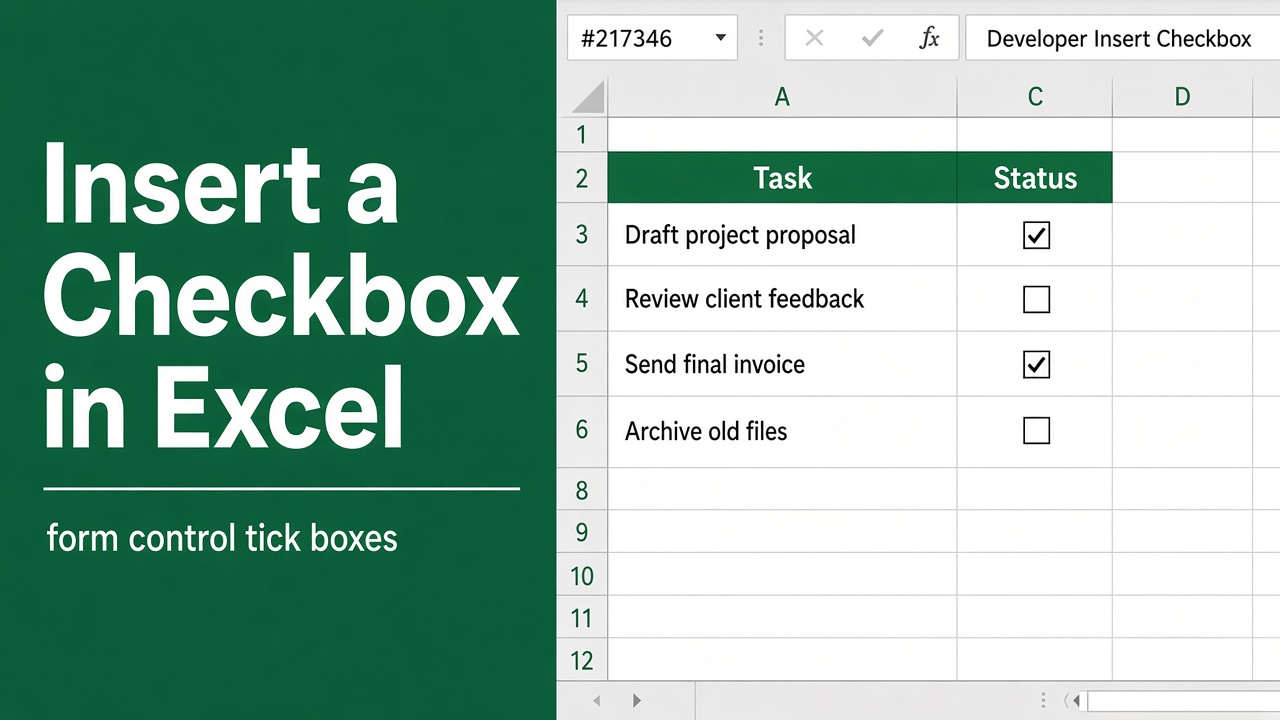
Checkboxes are useful in Excel when creating forms, lists, or tracking sheets that require simple user input or selection. They help streamline tasks like task management, data validation, and tracking progress. In Microsoft 365, the fastest way is Insert > Checkbox. In older versions, you use the Developer tab. This guide covers both, then shows how to link, copy, format and remove checkboxes.
Why Use a Checkbox in Excel?
A checkbox is a great tool when you want to create interactive spreadsheets. For instance, you can use it for:
- Task lists to mark completed items
- Surveys or forms to record user responses
- Progress tracking to indicate steps completed
- Project management for status updates on tasks
Quickest Way: Insert a Checkbox in Excel 365 (Insert Tab)
If you use Microsoft 365 (Windows, Mac or Excel for the web), Excel has a built-in cell checkbox. You don’t need the Developer tab, and each checkbox lives inside a cell instead of floating over the sheet.
- Select the cells where you want checkboxes, for example B2:B20.
- Go to the Insert tab.
- In the Cell Controls group, click Checkbox.
Every selected cell now shows an empty checkbox. Click a box, or select the cell and press Spacebar, to tick or untick it.
How the Excel 365 Checkbox Works
- The cell value is TRUE or FALSE. A ticked box is TRUE and an empty one is FALSE, so there is no cell link to set up.
- Formulas work directly. Count finished tasks with
=COUNTIF(B2:B20,TRUE), or show progress with=COUNTIF(B2:B20,TRUE)/ROWS(B2:B20)formatted as a percentage. - Style it like text. Change the checkbox color with Font Color and its size with Font Size.
- Copy it down with the fill handle like any other cell.
- To remove checkboxes, select the cells and press Delete. If any box is ticked, the first Delete unticks it and the second removes the checkbox.
Don’t see Checkbox on the Insert tab? You are on an older version such as Excel 2021, 2019 or 2016. Use the Developer tab method below, which works in every version.
Insert a Checkbox Using the Developer Tab (All Versions)
Step 1: Enable the Developer Tab
Before you can insert a checkbox, you need to enable the Developer tab, which contains advanced features including Form Controls.
- Open Excel and click on the File tab.
- Select Options at the bottom of the left panel.
- In the Excel Options window, select Customize Ribbon.
- In the Main Tabs section on the right, check the box for Developer.
- Click OK to close the options window.
This will add the Developer tab to your Excel toolbar.
Step 2: Insert the Checkbox
Now that the Developer tab is visible, follow these steps to add a checkbox:
- Go to the Developer tab on the ribbon.
- In the Controls group, click Insert.
- Under Form Controls, click the Checkbox option.
- Click anywhere on your worksheet where you want to add the checkbox.
A checkbox will appear on the worksheet, and you can move or resize it as needed.
Step 3: Customize the Checkbox Label
When you insert a checkbox, it will have a default label (usually “Check Box 1”). You can customize this by editing the label text:
- Right-click on the checkbox.
- Select Edit Text from the context menu.
- Type the desired label, such as “Task Completed” or “Item Selected.”
This makes it easier for users to understand the purpose of the checkbox.
How to Link the Checkbox to a Cell
To make your checkbox functional and track its status (checked or unchecked), you can link it to a cell. This is especially useful if you are creating a to-do list or a tracking sheet.
Step 1: Select the Checkbox
- Right-click on the checkbox you’ve inserted.
- From the menu, select Format Control.
Step 2: Link the Checkbox to a Cell
- In the Format Control dialog box, go to the Control tab.
- In the Cell link field, select a cell where the checkbox status will be recorded (for example, A1).
- Click OK.
Now, whenever the checkbox is checked, the linked cell will display TRUE. If unchecked, the cell will display FALSE.
How to Create Multiple Checkboxes in Excel?
If you need multiple checkboxes in your sheet, there’s a way to quickly add and customize them.
Copy and Paste Method
- Insert one checkbox using the steps mentioned earlier.
- Select the checkbox, then press Ctrl + C to copy it.
- Click on another cell where you want the next checkbox, then press Ctrl + V to paste it.
Creating a Checkbox List
If you are creating a list of tasks or items that need checkboxes, it’s more efficient to use the copy-paste method. After creating the checkboxes, you can link each one to a separate cell, using the steps mentioned earlier to track their individual statuses.
Adjusting Checkbox Alignment
If you have inserted several checkboxes, you may want to align them neatly for a professional look:
- Select all the checkboxes by holding Ctrl and clicking each one.
- Right-click and choose Format Control.
- Use the Align options to align them to the left, right, or center.
How to Use Checkboxes with Conditional Formatting?
You can make your checkboxes even more useful by combining them with conditional formatting. For example, you can change the color of a cell or text when a checkbox is checked.
Step 1: Link Checkboxes to Cells
First, ensure that each checkbox is linked to a corresponding cell using the method mentioned above.
Step 2: Apply Conditional Formatting
- Select the cells that will change based on the checkbox status.
- Go to the Home tab and click Conditional Formatting.
- Select New Rule, then choose Use a formula to determine which cells to format.
- Enter a formula like
=A1=TRUE(assuming A1 is the linked cell for the checkbox). - Choose the format (such as changing the cell’s background color) and click OK.
Now, when the checkbox is checked, the conditional formatting will be applied.
Removing Checkboxes in Excel
If you ever need to remove a checkbox, it’s a simple process:
- Click on the checkbox to select it.
- Press the Delete key on your keyboard.
To remove multiple checkboxes at once, select each one while holding the Ctrl key, then press Delete.
Using Checkboxes in Excel for Mac
The process for inserting a checkbox in Excel for Mac is similar but with a few slight differences:
- Go to the Developer tab in Excel (if it’s not visible, enable it through Preferences).
- Follow the same steps for inserting a checkbox by using the Insert option under Form Controls.
Common Uses of Checkboxes in Excel
Checkboxes can be used in a variety of practical ways. Here are some common use cases:
| Use Case | Description |
|---|---|
| To-Do Lists | Use checkboxes to track completed tasks in personal or work lists |
| Data Validation | Create forms or surveys where users can select options |
| Project Management | Track the progress of different tasks or stages in a project |
| Inventory Tracking | Monitor which items in an inventory list have been checked |
Adding Multiple Checkboxes with VBA (Advanced)
If you’re looking for an efficient way to add multiple checkboxes, you can use VBA (Visual Basic for Applications), which is useful when dealing with larger datasets.
Step 1: Open VBA Editor
- Press Alt + F11 to open the VBA editor.
- Insert a new module by clicking Insert > Module.
Step 2: Enter the Code
Use the following VBA code to insert multiple checkboxes in your sheet:
Sub InsertCheckboxes()
    Dim cBox As CheckBox
    Dim cell As Range
    For Each cell In Range("A1:A10")
        Set cBox = ActiveSheet.CheckBoxes.Add(cell.Left, cell.Top, cell.Width, cell.Height)
        cBox.Caption = ""
        cBox.LinkedCell = cell.Address
    Next cell
End Sub
This code will insert checkboxes in the range A1:A10 and link them to the corresponding cells.
Final Thoughts
Inserting a checkbox in Excel is a simple but powerful way to make your spreadsheets interactive. Whether you’re creating a to-do list, form, or tracking sheet, checkboxes offer a user-friendly way to input and track information. By following the steps outlined above, you can easily add, customize, and link checkboxes, as well as apply advanced formatting techniques for even more functionality.
FAQs
How do I insert a checkbox in Excel?
In Excel for Microsoft 365, select the cells and click Insert > Checkbox. In older versions, enable the Developer tab, then select ‘Insert’ under Form Controls, and choose the Checkbox option.
How do I link a checkbox to a cell in Excel?
Right-click the checkbox, select ‘Format Control’, and link it to a cell by entering the desired cell reference in the ‘Cell link’ field.
Can I insert multiple checkboxes at once in Excel?
Yes, you can copy and paste a single checkbox to quickly add multiple checkboxes or use VBA code to insert several checkboxes automatically.
How do I remove a checkbox in Excel?
To remove a checkbox, simply click on it and press the ‘Delete’ key. You can also select multiple checkboxes using the Ctrl key and delete them all at once.
How do I align multiple checkboxes in Excel?
To align checkboxes, select all the checkboxes by holding Ctrl, right-click one of them, and choose ‘Format Control’. Then use the ‘Align’ options to align them properly.
Can I use a checkbox in Excel for Mac?
Yes, the process of inserting a checkbox in Excel for Mac is similar to Windows. You need to enable the Developer tab and follow the same steps.