
Excel library
How to Fix Excel Pivot Table Overlap Error? (5 Easy Methods)
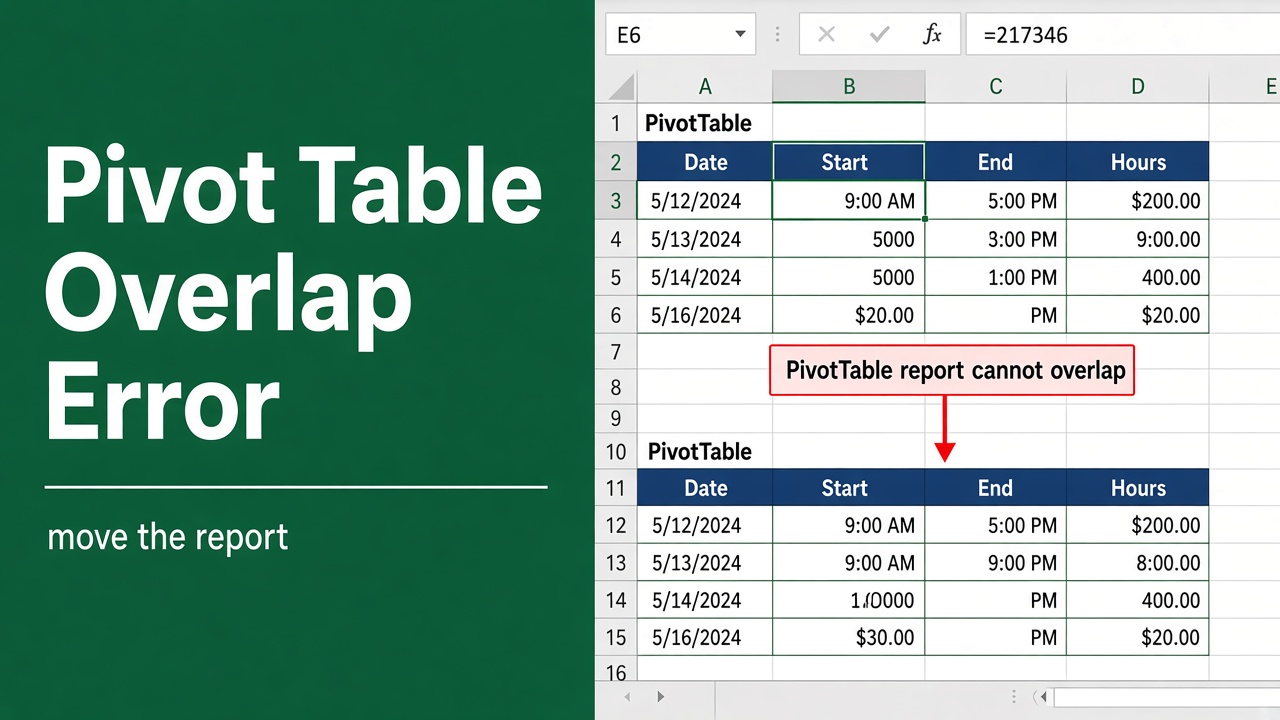
Are you struggling with an overlap error when trying to create or refresh a pivot table in Excel? This frustrating issue occurs when Excel detects that two or more pivot tables are trying to occupy the same space on your worksheet. Don’t worry – in this comprehensive guide, we’ll walk you through several methods to resolve the pivot table overlap error and get your Excel workbook functioning smoothly again.
The message “A PivotTable report cannot overlap another PivotTable report” means a pivot table needs more rows or columns than the empty space next to it. To fix it:
- Click in each pivot table on the sheet and refresh it on its own (Alt + F5) to find the one that fails.
- Select that pivot table, go to PivotTable Analyze > Move PivotTable, and move it to an empty area or a New Worksheet.
What Causes the Pivot Table Overlap Error?
The pivot table overlap error typically arises when:
- You have multiple pivot tables on the same worksheet that are positioned too close together or are actually overlapping.
- You’ve made changes to the source data range for a pivot table, causing it to expand and overlap with another pivot table.
- You’ve inserted new rows or columns in your worksheet that have shifted the position of your pivot tables, leading to overlap.
When the overlap error occurs, you’ll see a message like this:
“A PivotTable report cannot overlap another PivotTable report.”
Method 1: Move the Pivot Table to an Empty Area
The quickest fix is to move one of the pivot tables so it has room to grow.
Steps to Move a Pivot Table on the Same Sheet
- Click anywhere inside one of the pivot tables involved.
- Go to PivotTable Analyze > Move PivotTable.
- Choose Existing Worksheet and click a cell with plenty of empty rows and columns around it, for example several columns to the right of the other pivot table.
- Click OK, then refresh again. The overlap error should now be resolved.
| Pros of Repositioning | Cons of Repositioning |
|---|---|
| Quick and easy solution | May require rearranging the worksheet layout |
| No changes to pivot table settings needed | Can happen again if the data keeps growing |
Method 2: Leave Room for Growth or Stack Pivot Tables Sideways
The error appears when a pivot table grows on refresh (new rows, new items in a column field, or an extra field) into space another pivot table occupies. Layout choices that avoid it:
- Place pivot tables side by side with a few empty columns between them if they grow downward, or one above the other with plenty of empty rows if they grow sideways.
- Keep fields that can add many new items (such as Customer or Date) in Rows rather than Columns, so the table grows down instead of across.
- Use the Filters area or slicers for fields you only use to narrow the view; filtered items don’t take up rows.
Method 3: Move the Pivot Table to a New Worksheet
Another effective solution is to move one or more pivot tables to a new worksheet to eliminate any chance of overlap. This can be done by simply selecting the pivot table, right-clicking, and choosing “Move PivotTable. ” This not only helps with organization and clarity but also allows for easier manipulation and analysis of data. Additionally, by utilizing the excel pivot table feature, users can further customize and analyze their data with the use of filters, slicers, and calculated fields. This increases the functionality and versatility of the pivot tables, allowing for a more in-depth understanding of the underlying data.
Steps to Move a Pivot Table to a New Worksheet
- Click anywhere inside the pivot table you want to move.
- Go to the PivotTable Analyze tab on the Excel ribbon.
- Click the Move PivotTable button.
- In the Move PivotTable dialog box, select New Worksheet and give it a meaningful name.
- Click OK to move the pivot table to the new worksheet.
Benefits of using a separate worksheet for each pivot table:
- Completely eliminates the risk of pivot table overlap errors.
- Provides a cleaner, more organized workbook structure.
- Allows for easier printing and sharing of individual pivot table reports.
Method 4: Refresh Pivot Tables One at a Time
If you have multiple pivot tables based on the same source data, refreshing them all at once could trigger the overlap error. Instead, try refreshing each pivot table individually. If a refresh leaves #DIV/0! in the values instead, see how to fix #DIV/0! errors in a pivot table.
Steps to Refresh Pivot Tables Individually
- Click anywhere inside the first pivot table.
- Go to the PivotTable Analyze tab and click the Refresh button, or right-click the pivot table and select Refresh.
- Repeat steps 1-2 for each subsequent pivot table, refreshing them one at a time.
This method is most useful when:
- You have several pivot tables that are closely positioned but not actually overlapping.
- The pivot tables are based on the same data source that has recently been updated.
Tip: to see where every pivot table sits, press Alt + F11, insert a module, paste the macro below, and run it with F5. The list appears in the Immediate window (Ctrl + G).
Sub ListPivotTables()
    Dim ws As Worksheet, pt As PivotTable
    For Each ws In ActiveWorkbook.Worksheets
        For Each pt In ws.PivotTables
            Debug.Print ws.Name, pt.Name, pt.TableRange2.Address
        Next pt
    Next ws
End Sub
Method 5: Use a Power Pivot Data Model
For more advanced Excel users, creating a Power Pivot data model can help avoid pivot table overlap errors altogether. A data model allows you to establish relationships between multiple tables, enabling you to create pivot tables that draw from the model rather than directly from worksheet ranges.
Steps to Create a Power Pivot Data Model
- Go to the Data tab on the Excel ribbon.
- Click the Get Data button and select From Table/Range.
- Select your data range and click OK.
- In the Power Query Editor, make any necessary data transformations and then click Close & Load.
- Go to the Power Pivot tab and click Manage.
- In the Power Pivot window, establish relationships between your data tables as needed.
- Create your pivot tables from the Power Pivot Fields list rather than from worksheet data ranges.
Advantages of using a Power Pivot data model:
- Several pivot tables can share one data model, so you can put each on its own sheet without duplicating the data. (Pivot tables on the same sheet can still overlap; the data model doesn’t prevent that.)
- Relationships allow for more complex data analysis across multiple tables.
- Data model updates can be easily propagated to all connected pivot tables.
Preventing Excel Pivot Table Overlap Errors
While the methods outlined above can help you resolve overlap errors when they occur, it’s even better to prevent them from happening in the first place. Here are some best practices:
- Position pivot tables thoughtfully: When creating pivot tables, be mindful of their placement on the worksheet. Leave enough space between them to accommodate potential data range expansions.
- Use named ranges for source data: Define a named range for your pivot table source data. This makes it easier to update the data range if needed, without inadvertently causing overlap issues.
- Keep pivot tables on separate worksheets: As mentioned in Method 3, giving each pivot table its own worksheet is a surefire way to avoid overlap errors.
- Use a Power Pivot data model: If you frequently work with multiple pivot tables and large datasets, leveraging Power Pivot can provide more flexibility and help prevent overlap errors.
By understanding the causes of pivot table overlap errors and employing these resolution methods and best practices, you can keep your Excel workbooks running smoothly and avoid frustrating disruptions to your workflow.